How to setup 2FA for Dashlane account?
Step-by-step guide to setting up two-factor authentication on Dashlane using an authenticator app.
Download Authenticator App
Before we start, download and install the Authenticator App from your device's App Store.
To setup 2FA for your Dashlane account with our Authenticator App, you need to follow the next steps:
Log in to your Dashlane account on the web app, click on the "My account" menu, then select "Settings".
Navigate to "Security settings" and turn on "2-factor authentication". If prompted, enter your Master Password and select "Next".
Choose whether to use 2FA every time you log in to Dashlane or only when you log in from a new device. If you choose to use 2FA at every login, you'll need an internet connection whenever you access your account. Select "Continue".
Enter your mobile device's phone number. This number will be used to text recovery codes if you get locked out of your account. Select "Continue".
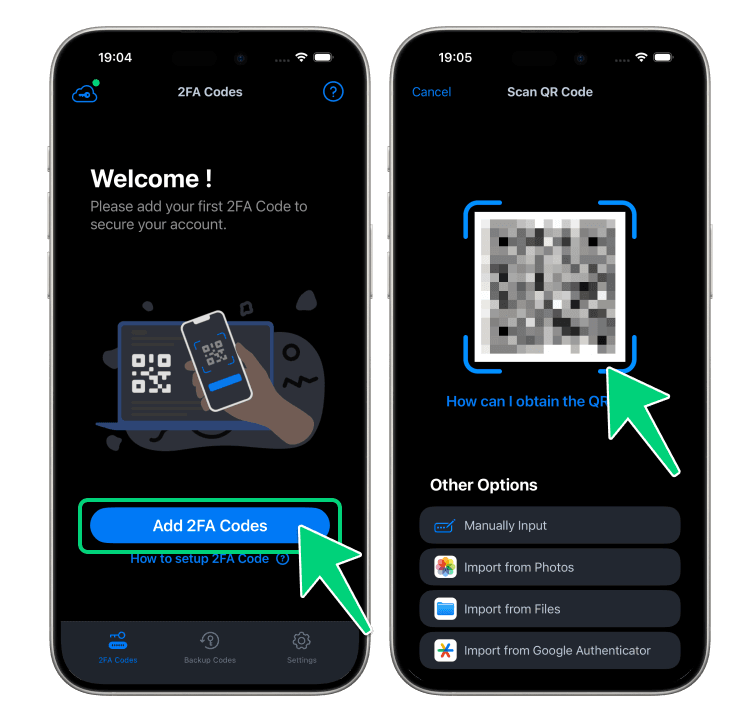
In the next pop-up in the web app, you'll see a QR code and a setup code.
Open our Authenticator App, click the + button at the bottom right of the screen, then hold your device near the computer screen to scan the QR code.
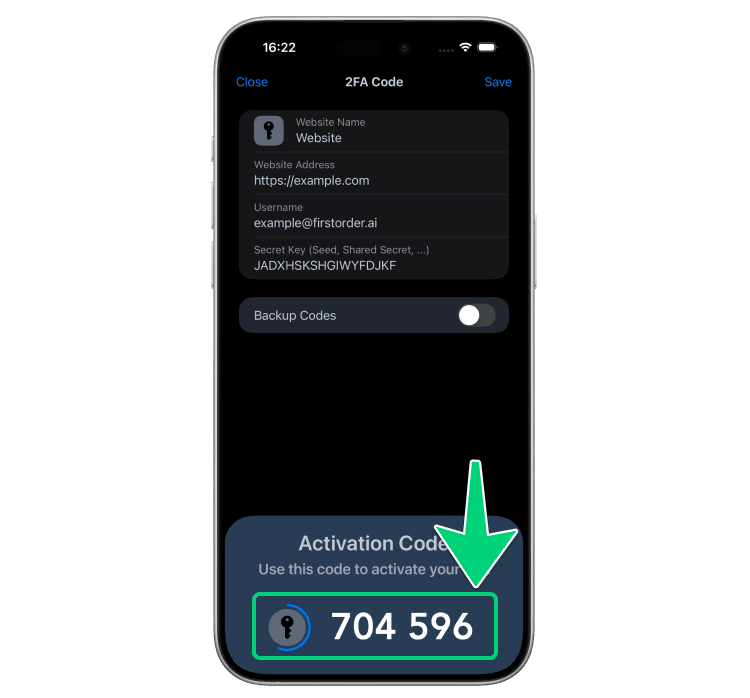
After successfully scanning, a 6-digit code will be shown at the bottom of the screen. Please note that this code refreshes every 30 seconds.
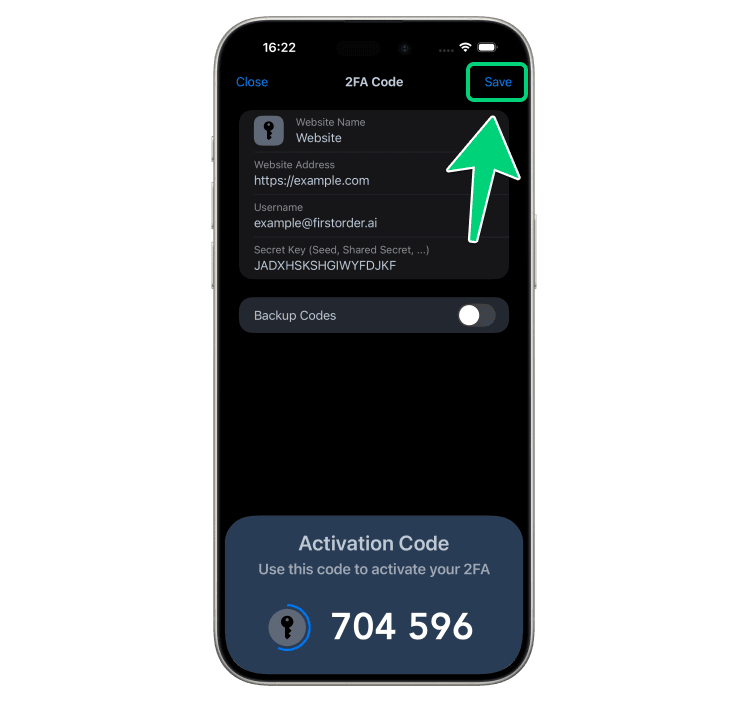
Return to the Dashlane web app, enter the 6-digit code displayed in step 7, and then select "Confirm".
In the next pop-up in the web app, you'll see a list of recovery codes. Download the recovery codes and save them in a safe location. You can use recovery codes to get back into your account if you lose access to the Authenticator App on your mobile device.
Remember to click "Save" in the Authenticator App to save your account, or you may lose access to your account!
Select "Done" to complete the setup.
Now, you have successfully setup 2FA for your Dashlane account. From now on, when you attempt to sign in to your Dashlane account, you will need to use our Authenticator App.